Showing posts with label DMM. Show all posts

Tuesday, 24 June 2014

DMM tool bag

As anyone who has been following this blog will probably gather I'm a bit of a bag fiend, especially when it comes to organising my climbing gear.


I keep this one in my main climbing bag to keep all my SRT stuff separate 


Saves everything getting caked in sawdust or lost/damaged, also makes finding stuff much easier. 

Not a huge amount of point in saying too much more about this bag as I think Dmm have done a bit of a redesign and discontinued this model. 


Saturday, 21 June 2014

Throw line set up

Trying out a few things with my throw line set up lately


Been using this DMM tool bag for a while, but its not really big enough to loosely spool the throw line into it, 


So rather than splash out on a cube for £25 I've brought a couple of pop up laundry bags for £1.25 each


Line spooled inside and tied onto one of the handles to keep from loosing it


Folded up with line inside


Then fits nicely inside the DMM bag, along with:


A 14oz weight (for those thick barked trees) and an 8oz (for those long shots)


I also keep a cheep reel of cord in there as well (£1.50 from Lidl) I have this if i want to leave a line up in a tree over night or over the weekend, or if I'm not sure when I'll be back to finish up, as its so cheep I'm not too worried if its gets lost or pinched 


Sunday, 4 May 2014

Rigging kits

This is my current set up in terms of rigging gear that I take out on my own private jobs. 


I've talked about these petzl bags before, still can't say enough good things about them.


First up in the large (35lt) bag I have 60m of 16mm Sirius Bull rope and a 4m long 16mm dead eye sling with a small ISC cast pulley attached, this kit only comes out on big jobs or if I don't know the job (i.e.  freelancing) then I may chuck it in as well. 


Then in the first small (25lt) bag I have a selection of things; 30m 14mm sirius bull rope, 5 m dead eye, small ISC portawrap, small woopie sling, large woopie sling,  Medium ISC swing cheek lowering pulley with steel dmm crab,  2m split tail, large loopie sling, x2 petzl tandem pulleys, another smaller woopie (orange) , small mallion, small rigging plate,  2m tape sling and crab, 10m length of xtc line, couple of lengths of hitch cord. 

The idea with this bag was to have everything I'd need for small/medium scale lowering, as well as all the other trinkets you occasionally need for complicated lowering jobs. The 30m rope is usually sufficient for most small trees and also comes in handy as a second line if using the bigger rope. 


Then in the other small bag are some other bits that go out with me on almost every job now. From left to right: in the black bag is the Mini MA system, 22m of 12mm sirius bull rope (tag line), 5m multi sling, 4.5m dead eye, rigging gloves, and big shot/trigger set up 

The tag line has come in handy on numerous occasions, especially on those jobs where I've been told there is no rigging to do and then discover that there definitely is!


I'm pretty happy with my current set up, It covers me for a large range of rigging scenarios, the only major thing I need now is a decent bollard, something like the Stein RC3001 that I get to use for my current main employer 

Monday, 24 March 2014

Pulling over a stem/mini MA system in action

Couple of pictures of my Mini MA system in action this week pulling over a large diameter stem from a big poplar fell


3:1 below on the ISC and the mini MA on top on the pinto

Not abundantly clear from the pictures but basically I set up a standard 3:1 MA on the rigging line using a large lowering block anchored to the cherry tree, this then went back to a Pinto rig attached to the rigging line via a 14mm sirius split tail blake hitched to the line. I then attached My mini MA to the pulling end of this line. This basically meant I had a 3:1 advantage pulling on a 3:1 system, now I'm not sure what this means mathematically speaking (maybe 7:1?) but all I do know is the two guys pulling the stem over had no trouble at all.


I'm sure this is nothing new to a lot of you and setting up mechanical advantage to pull a stem over is fairly standard practice. However I know in the past setting up anything more than a 3:1 just with a rigging line and pulleys uses up a lot of rope very quickly, even with a 60m rope you quite quickly run out of rope unless your anchor is very close to the tree your pulling over.

So by being able to use the Mini MA system on the end of the rigging line this issue was negated as well as considerably cuting down on the setup time. 

I have a video of the stem coming down I will upload at some point. 


Thursday, 13 March 2014

Mini MA system: more pics

Just some better pics of the mini MA system I've been playing around

Set up in situ as the stein block goes on
Here you can see I've tied a small loop on the tail of the cord that attaches the pinto to the  rope grab
then its fairly straight forward to clip the rope grab to the rope and unclip from the mounting strap
Here I've hoisted up a pretty hefty lump of eucalyptus
Tying off the rigging line on the stein block in order to advance or remove the rope grab

Hope these pictures help to explain the system slightly better, will try and get a video up soon 

Tuesday, 11 March 2014

Mini mechanical advantage system

Can you guess what it is yet?


I've mentioned in previous posts how I've been playing around with a few ideas for tensioning the rigging line. I was looking for several things: something simple that could be taught in a few minutes that was also fairly idiot proof, something that was easily installed and not too gear intensive, I wanted at least a 3:1 mechanical advantage (MA) and I wanted to avoid having to use knots to attach it to the rigging line.

This has yet to be used in anger and only played about with in my workshop so you'll have to excuse the pictures.

So if you assume the rigging line has been set as normal and the end your looking at here is coming down from the tree to the protawrap/bollard.

 
The rope grab is attached to the line with the MA system already in place
 
 
The other end of the MA systems clips into the top of the porty/bollard
 

Then by pulling on the working end of the MA system tension is applied to the rigging line, with progress being captured on the porty/bollard
 

Once the MA system is out of room the rigging line can be tied off
 
 
A few wraps and a couple of half hitches usually does the trick

 
And if needed the MA system can be advanced up the line again to add more tension/pull the line further.
 

When not needed or once the line has been tensioned sufficiently the rope grab is removed from the rigging line and clips into a stein mounting strap installed well above the bollard, the other end of the MA system can be left in place for the duration and everything is ready for when MA is needed again.
 
 
So this is by no means the best explanation but I hope you get the general idea. everything is pre tied and set and gets put away as in the top picture. So when your setting up first thing all you need to do is install the stein mounting strap, clip the rope grab end to it, and the other end clips into the bollard and then its all ready to be used as and when needed.
 
I'm going to try and get a video of it in use as I feel this will help a lot with the explanation!
 
Any thoughts or queries?


Monday, 17 February 2014

Lanyard setup/Work positioning strop

I've played around with various different lanyard setups over the years, I First started climbing with a big thick 19mm wire core thing with a massive triple action fixed krab on the end, it was about 4m long and adjusted with a prussic, pretty basic and very heavy. I then moved onto a thinner diameter wire core strop, about the same length only with an ISC rope grab and wire eyelets each end. I climbed with this for about 5 years and never really had and reason to complain, I still have it and will use it occasionally for chogging down big stems. 

I then moved on to trying out various rope strops, all of my own making, I went though a couple of different lengths and thickness of ropes/hitches before I came up with what I am currently using.


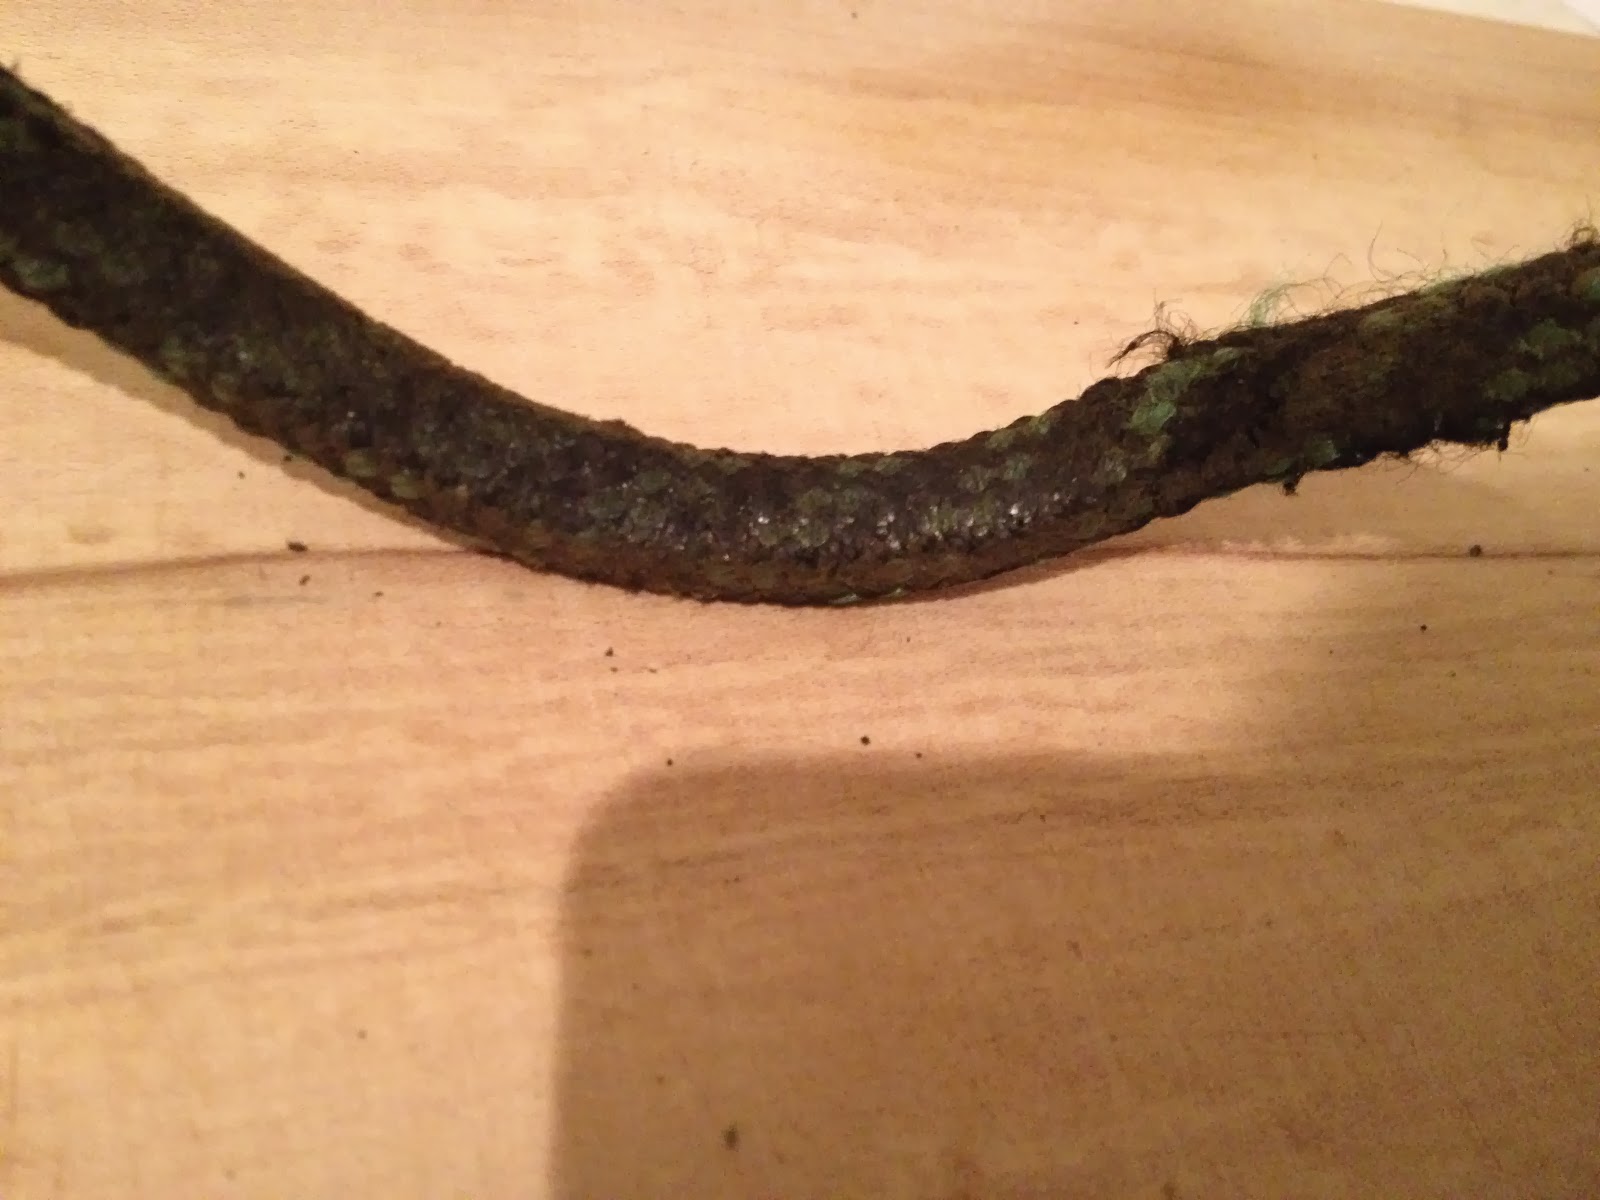
The rope is actually a 3m replacement rope for the Petzl Grillon, which I chose because I wanted an 11mm rope with a spliced/stitched eye either end and this was actually the most cost effective way (about £30ish) and came with the added bonus of the protective sheath. This is particularly good for keeping rope and hitch clean when working on conifers or dirty trees.  

I chose 3m as with my style of climbing I rarely need anything longer as I'm usually able to get most places in a tree with just my main anchor point and use the lanyard only to attain my final working position. This means I don't have to drag a long lanyard around the tree getting it tangled and caught up on everything, or have to daisy chain it or stuff it into a stuff sack. 


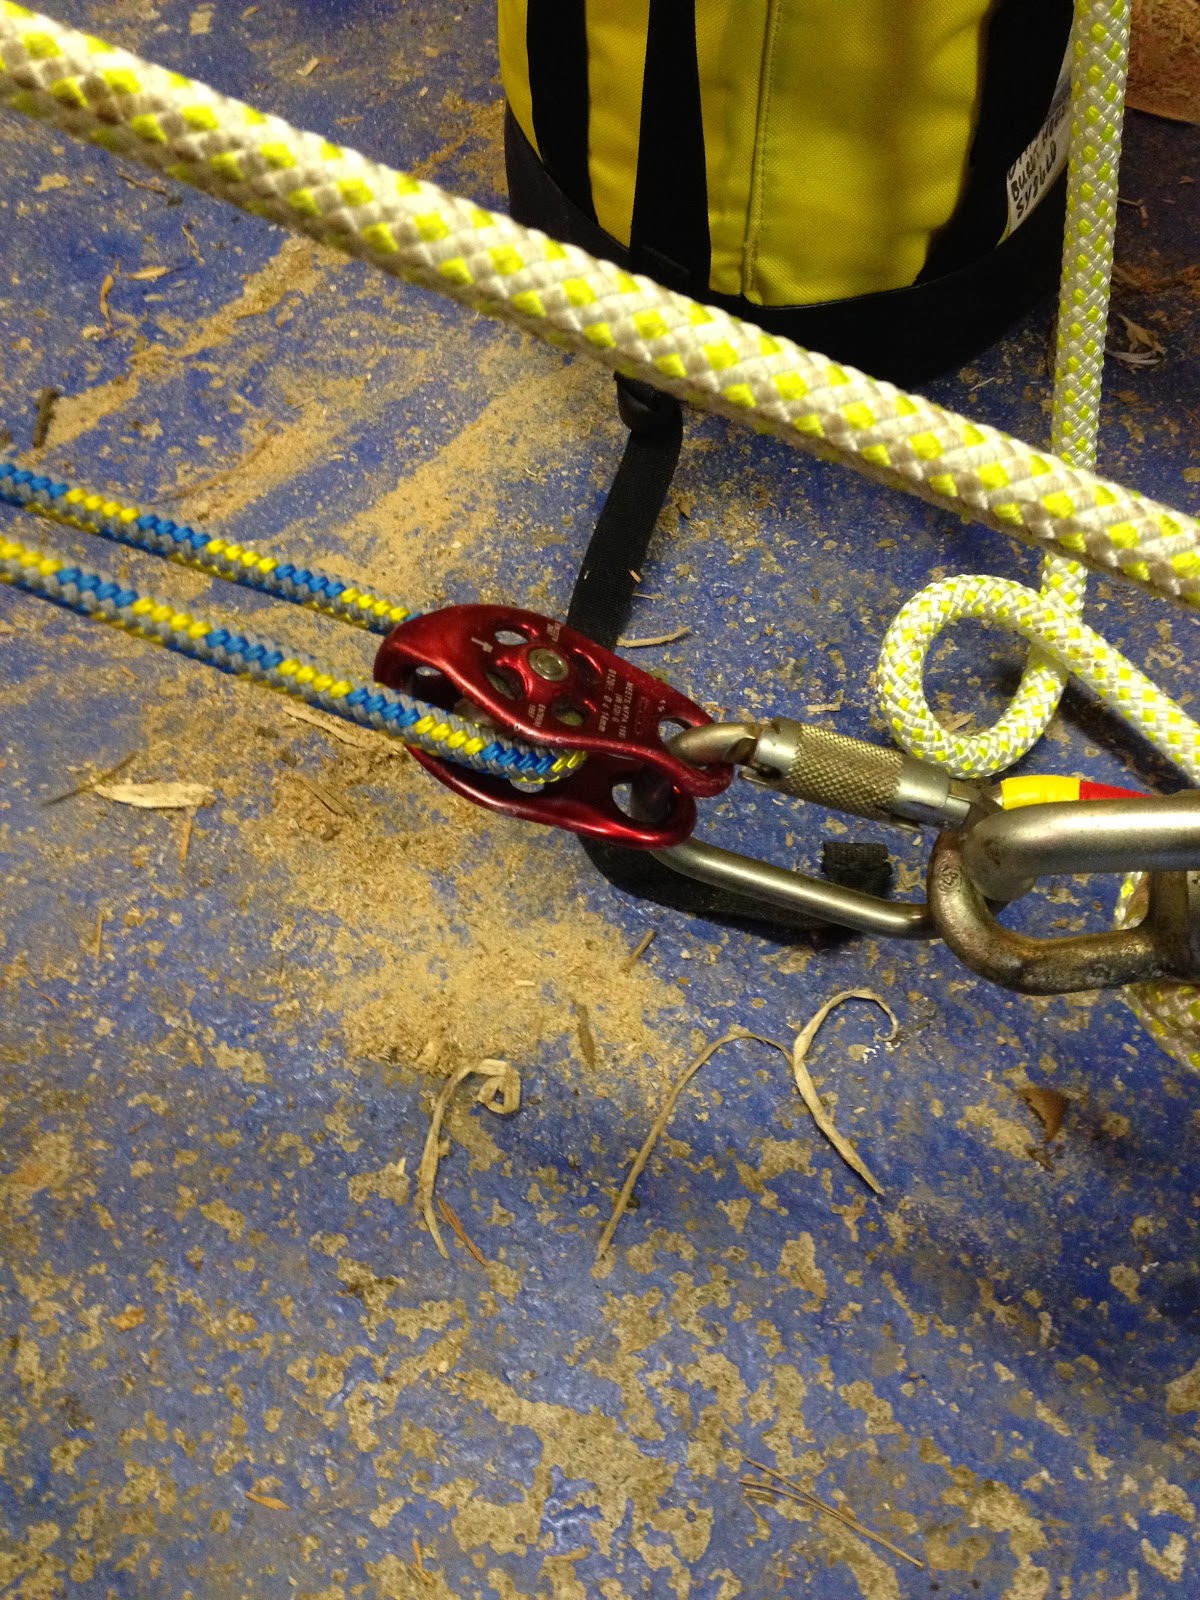
I use a hitch climber as the tending pulley because of the added versatility the additional attachment holes provide, allowing me to use it as a secondary DRT (double rope technique) anchor when needed. Or if I need a little extra length as a SRT (single rope technique) strop (assent/positioning only)


The stitched eyes have a protective plastic covering that holds the DMM ultra O karabina firmly in place making clipping in one handed very easy. (These are my crab of choice at the moment, full review to come)


Having a spliced eye either end negates the use of a stopper knot 


And enables me to clip both ends up out of the way, keeping everything nice and neat as well as not having to drag it along the floor when I walking around on the deck


The hitch cord is 8mm Sirius and works really nicely on a Distle with this rope, it rarely jams and grips every time. 

All in all I love my current set up and would replicate it in a heart beat should any element need replacing at any point. I much prefer the versatility and flexibility of a rope strop over the rigidity and additional safety of a wire core.

 I'm always interested in other climbers setups if anyone wants to share theirs?


Tuesday, 28 January 2014

Working a Spar SRT

I dismantled a large oak earlier this week, the crown came out easily enough and we were down to the stem by lunch time(ish)

Call me a cheat for using ladders but It's still the quickest way into a crown!
The stem was obviously slightly more time consuming, especially as it was up to a metre in diameter in places and due to a fragile patio underneath everything had to be lowered. Now I quite enjoy blocking down big lumps of wood but they can be pretty time consuming to set up, which is why I frequently work them SRT.

I simply choke my line at the top of the last cut, descend to where I want to cut next (with rope wrench attached) I have the pulley block, dead eye and rigging line clipped into my anchor ring, so they are out of the way and not hanging off my hips, I am then easily able to make the face cut without any danger of cutting anything. 
The stem after 3 or 4 large lumps had been rigged down, you can see the largest still at the base of the tree, to big to be moved we had to cut it up where it sat.

Once I've made the face cut, the pulley is attached as close to the face cut as is practical. The rigging line and pull line (if applicable) are next to be attached before I strop in, move my SRT anchor to just above the pulley, make my cut and hold on! Then its a case of un-tieing the dead eye, clipping it to my anchor ring (pulley/rigging line still in place) descend and get ready to start all over again!

When it comes to either descending to a point where I can't reach my anchor to retie it (or coming down at the end of the day) its a good idea to make the anchor retrievable, in which case I use an Alpine Butterfly

First enough rope is pulled round the stem to reach the next point/ground, then I tie the alpine butterfly into this long end, then simply clip a karabina through the loop and onto the other part of the rope (closest to harness/hitch) making sure the gate is facing up, this is then synched up tight to the stem.

Now I wouldn't recommend this as a permanent anchor to work an entire tree, but for working on a large diameter spar like this I think its fine; its always in sight so you can see its not cross loaded or coming undone, and the stem is large enough that the krab is being weighted along its correct axis.  

Coming down at the end of the first day

Retrieving the anchor 

Then when it comes to retrieving the anchor you just pull down on the knot side of the rope until it gets to you, unclip, untie the butterfly and pull the rope down. 

Saturday, 25 January 2014

That time of year again - Loler - equipment maintenence


Had a Loler inspection this weekend, which was motivation enough to sort out a few bits of my kit that have needed some tlc. For starters a few of my karabinas have been sticking a bit lately, so they got a good soaking in hot soapy water, then properly dried and a tiny squirt of WD40 had them working as good as new


The other main thing to sort out was replacing the hitch cord on my main line and my side strop


I'm sure I'm not the only one guilty of leaving my hitch tied on too long. Trouble is when you've got it running really nice it seems such a shame to take it off, but as you can see from the picks maybe I need to change mine a little more often. 

I've used the hitch climber system since it came out, and before that a swing cheek pulley and I have always used hitch cord tied with fisherman's either end. This is partly because spliced eye to eyes are too expensive but mostly because they are way too long! I like my hitches tied real short, I find they jam less, tend nicer and most importantly there is virtually no sit back! 

Taped 

Cut

and then melted to seal the end and prevent fraying 


Then re tied and set 


Tuesday, 21 January 2014

SRT Strop

This is a neat little trick for when your work positioning strop isn't quite long enough and you want to choke it round a stem/branch and use it in a single line configuration and want to avoid cross loading the karabiner 


Obviously you shouldn't be descending solely on a hitch, but if used for assent or work positioning it should be fine.